
Screenshot Bug Fixing
From a UI screenshot: diagnose the problem, locate code and repair it.
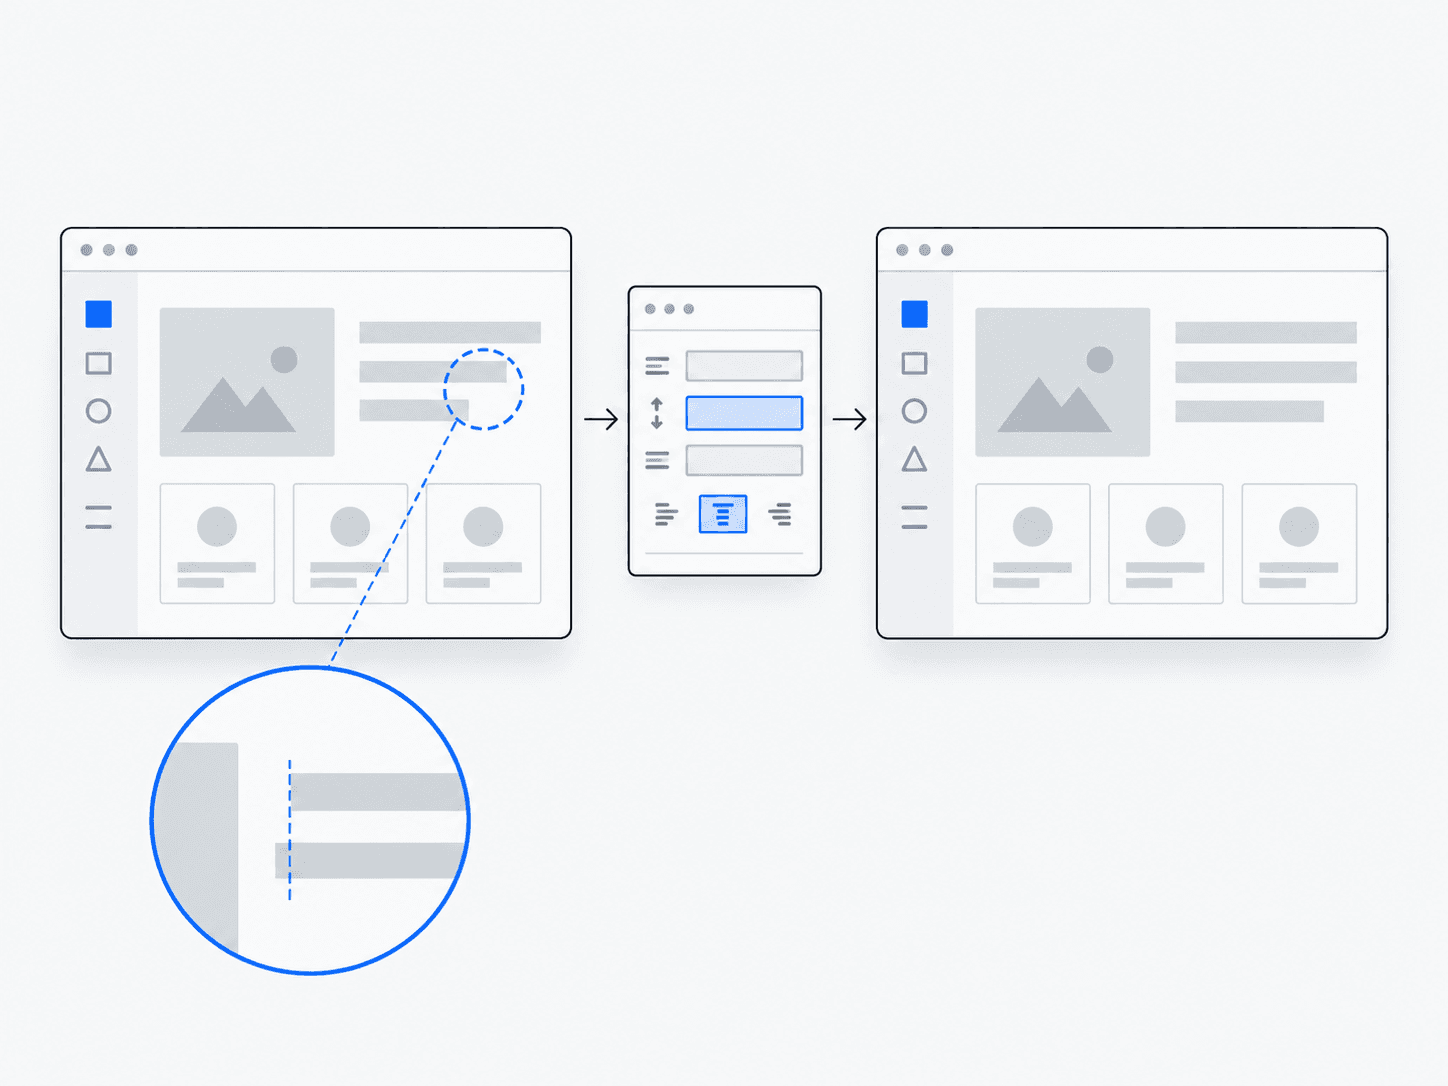
What does it do?
Uses visual input to find UI issues, maps them to code, applies a fix and validates.
Why it’s useful
Turns a screenshot into a concrete engineering workflow.
Example in practice
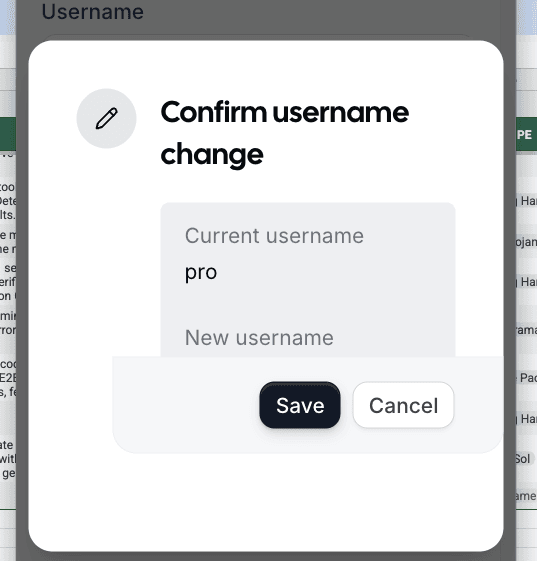
Follow the work
- 1
Capture screenshot
Start with an image that clearly shows the interface problem.
- 2
Diagnose
Describe the visible defect and the expected appearance or behavior.
- 3
Locate code
Trace the affected interface to the component or styles responsible for it.
- 4
Patch
Make a focused correction without assuming every visible issue has the same cause.
- 5
Validate
Render the interface again and check the changed area and nearby behavior.
Architecture and technologies
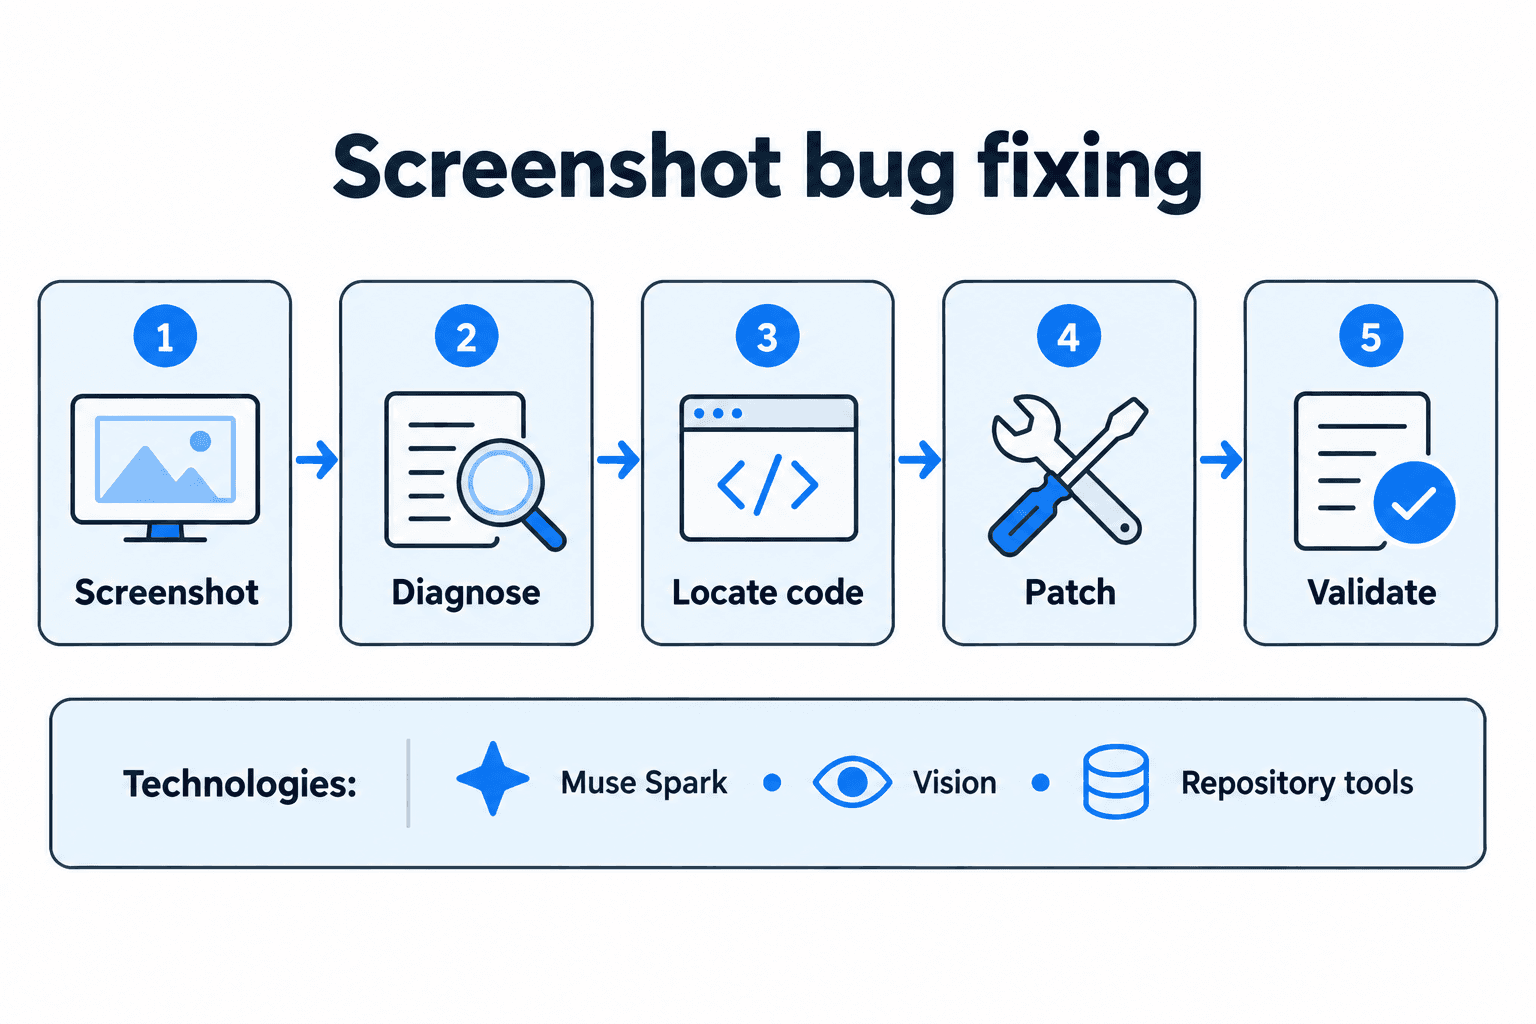
- Works with
- Muse Spark, Vision, Repository tools
Keep in mind
- Needs a reliable mapping from UI to code